一、Vue2 框架整合 Vditor
1.1、安装
npm install vditor --save1.2、引入 Vditor 相关文件
import Vditor from "vditor"
import "vditor/dist/index.css"
1.3、配置 Vditor
    data() {
        return {
            contentEditor: {},
        }
    },
    mounted() {
        this.contentEditor = new Vditor('vditor', {
            height: 500,
            placeholder: '此处为话题内容……',
            theme: 'classic',
            counter: {
                enable: true,
                type: 'markdown'
            },
            preview: {
                delay: 0,
                hljs: {
                    style: 'monokai',
                    lineNumber: true
                }
            },
            tab: '\t',
            typewriterMode: true,
            toolbarConfig: {
                pin: true
            },
            cache: {
                enable: false
            },
            mode: 'sv',
            toolbar: [
                'emoji',
                'headings',
                'bold',
                'italic',
                'strike',
                'link',
                '|',
                'list',
                'ordered-list',
                'check',
                'outdent',
                'indent',
                '|',
                'quote',
                'line',
                'code',
                'inline-code',
                'insert-before',
                'insert-after',
                '|',
                // 'record',
                'table',
                '|',
                'undo',
                'redo',
                '|',
                'edit-mode',
                // 'content-theme',
                'code-theme',
                'export',
                {
                    name: 'more',
                    toolbar: [
                        'fullscreen',
                        'both',
                        'preview',
                        'info',
                        'help',
                    ],
                }],
        })
    }
解释:
this.contentEditor = new Vditor('vditor', ....); 这里就创建 Vditor 实例,指定 id 为 vditor,也就意味着,之后在 html 中可以通过给 div 标签加上 id="vditor",就可以引入 markdown 啦~
1.4、使用 Vditor
            <div>
                <span>内容: </span>
                <!-- markdown -->
                <div id="vditor"></div>
            </div>
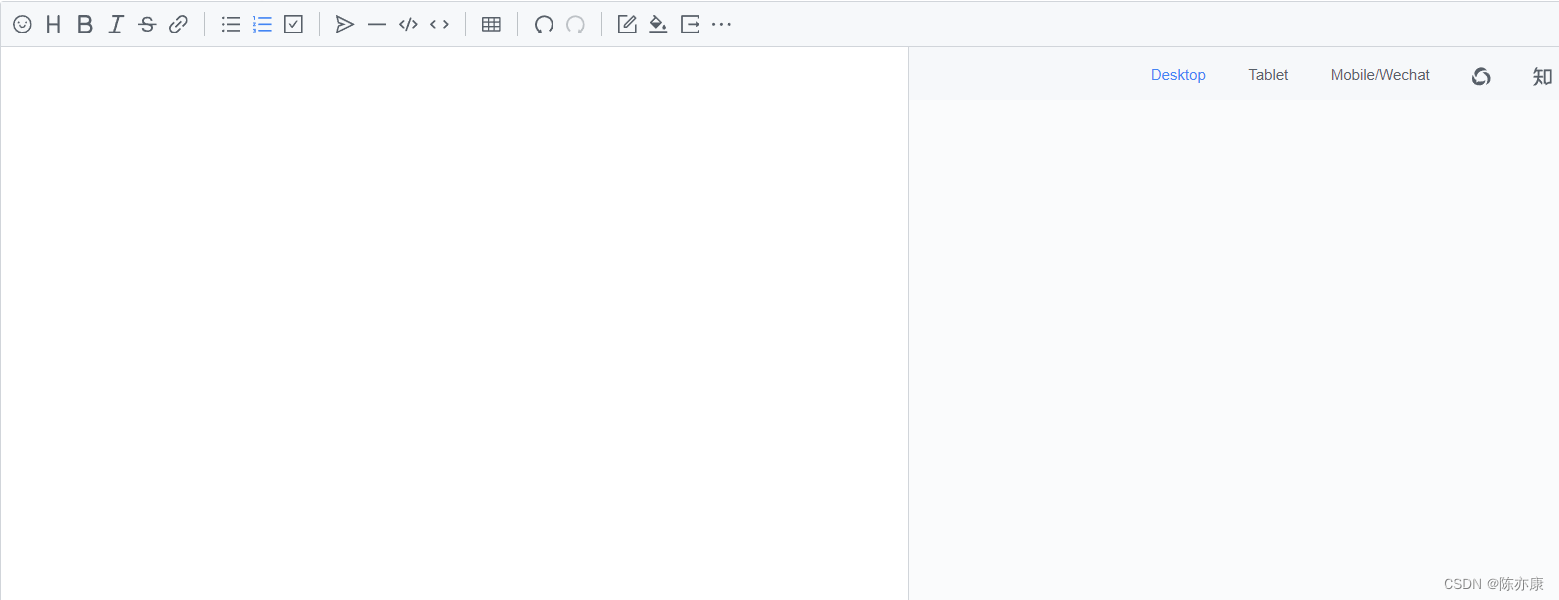
返回页面就可以看到效果了~


