本文以开源的ChatGLM2-6B模型为基础,介绍了在联网环境下如何配置ChatGLM2-6B模型所需的运行环境,制作成docker镜像以支持便捷的模型迁移,并在docker容器中进行模型微调和推理。主要包括docker安装和配置、基础镜像制作、ChatGLM2-6B模型镜像打包、容器中运行模型微调和推理等步骤。
1. 安装docker
-
安装
yum install -y docker-ce-18.06.1.ce-3.el7

systemctl enable docker && systemctl start docker
- 修改docker源
vi /etc/docker/daemon.json

#写入以下内容
{
  "registry-mirrors": ["h(体体)ps://docker.mirrors.ustc.edu.cn"],
  "exec-opts": ["native.cgroupdriver=systemd"]
}

#执行以下命令
sudo systemctl daemon-reload
sudo systemctl restart docker
2. 制作基础镜像
在nvidia/cuda:12.2.0-devel-ubuntu20.04镜像的基础上,安装anaconda、vim、curl、sudo、git、tmux、wget等工具,并制作成一个新的基础镜像。
- 新建一个project文件夹
mkdir project - 下载anaconda安装文件
wget h(体体)ps://repo.anaconda.com/miniconda/Miniconda3-py310_23.5.1-0-Linux-x86_64.sh - 新建一个pip.conf文件,写入以下内容设置pip源:
[global] index-url = h(体体)ps://pypi.tuna.tsinghua.edu.cn/simple trusted-host = pypi.tuna.tsinghua.edu.cn timeout = 120 - 编写Dockerfile文件
# 容器镜像构建主机需要连通公网 #nvidia cuda基础镜像列表 h(体体)ps://hub.docker.com/r/nvidia/cuda/tags # # require Docker Engine >= 17.05 # # builder stage # 基础容器镜像的默认用户已经是 root # USER root #nvidia cuda基础镜像 FROM nvidia/cuda:12.2.0-devel-ubuntu20.04 AS builder # 使用开源镜像站提供的 pypi 配置 RUN mkdir -p /root/.pip/ COPY pip.conf /root/.pip/pip.conf # 拷贝待安装文件到基础容器镜像中的 /tmp 目录 COPY Miniconda3-py310_23.5.1-0-Linux-x86_64.sh /tmp # h(体体)ps://conda.io/projects/conda/en/latest/user-guide/install/linux.html#installing-on-linux # 安装 Miniconda3 到基础容器镜像的 /home/user-x/miniconda3 目录中 RUN bash /tmp/Miniconda3-py310_23.5.1-0-Linux-x86_64.sh -b -p /home/user-x/miniconda3 # 构建最终容器镜像 FROM nvidia/cuda:12.2.0-devel-ubuntu20.04 # 安装一些工具 RUN cp -a /etc/apt/sources.list /etc/apt/sources.list.bak && \ sed -i "s@h(体体)ps://mirrors.tuna.tsinghua.edu.cn/help/ubuntu/@g" /etc/apt/sources.list && \ sed -i "s@h(体体)ps://mirrors.tuna.tsinghua.edu.cn/help/ubuntu/@g" /etc/apt/sources.list && \ apt-get update && \ apt-get install -y vim curl sudo git tmux wget && \ apt-get clean && \ mv /etc/apt/sources.list.bak /etc/apt/sources.list # 增加 user-x 用户 (uid = 1000, gid = 100) # 注意到基础容器镜像已存在 gid = 100 的组,因此 user-x 用户可直接使用 RUN useradd -m -d /home/user-x -s /bin/bash -g 100 -u 1000 user-x # 从上述 builder stage 中拷贝 /home/user-x/miniconda3 目录到当前容器镜像的同名目录 COPY --chown=user-x:100 --from=builder /home/user-x/miniconda3 /home/user-x/miniconda3 # 设置容器镜像预置环境变量 # 请务必设置 PYTHONUNBUFFERED=1, 以免日志丢失 ENV PATH=$PATH:/home/user-x/miniconda3/bin \ PYTHONUNBUFFERED=1 # 设置容器镜像默认用户与工作目录 USER user-x WORKDIR /home/user-x - 上述文件均放到project文件夹
project |—— Dockerfile |—— Miniconda3-py310_23.5.1-0-Linux-x86_64.sh └── pip.conf - 构建容器镜像
#在project文件夹下运行以下命令,此过程比较久,可以放在tmux中进行,耐心等待……
docker build -t torch1.13-cuda12.2-ubuntu20.04-chatglm2-6b .
- 查看镜像
docker images
可以看到镜像构建完成。
3. 构建ChatGLM2-6B镜像
基于前面构建的基础镜像运行一个容器,进入该容器内配置ChatGLM2-6B模型运行所需环境,然后重新打包成一个新的镜像。
- 基于上面构建的镜像启动并进入容器
#在有GPU的机器上可以用--gpus参数指定可用的GPU,这里选择设置为--gpus all docker run -it -u root --name ubuntu20.04-cuda12.2-chatglm --gpus all shaux/torch1.13-cuda12.2-ubuntu20.04-chatglm2-6b /bin/bash #在没有GPU的机器上不加--gpus参数 docker run -it -u root --name ubuntu20.04-cuda12.2-chatglm shaux/torch1.13-cuda12.2-ubuntu20.04-chatglm2-6b /bin/bash - 如果要启动状态为Exited的容器,用“docker container start [容器名字]”
#查看容器列表
docker ps -a
#启动容器
docker container start ubuntu20.04-cuda12.2-chatglm
#查看容器列表,容器状态为up docker ps
- 进入容器中配置chatglm2-6b所需的运行环境
- 进入容器
#进入容器时输入CONTAINER ID的前三位就行 docker exec -it 602 /bin/bash - apt-get换源
#修改容器的root密码为glm666 sudo passwd #切换为root超级管理员 su root #换apt源 执行命令:vim /etc/apt/sources.list; 使用命令:%d 清空所有内容; 清华数据源:h(体体)ps://mirrors.tuna.tsinghua.edu.cn/help/ubuntu/ 选择相应的版本复制内容,点击“i”键进入编辑文本模式,粘贴内容到vim编辑窗体,点击“ESC”键进入编辑模式,输入“:wq”保存离开; #更新源和软件 sudo apt-get update sudo apt-get upgrade - 配置ChatGLM2-6B模型运行所需环境
git clone h(体体)ps://github.com/THUDM/ChatGLM2-6B cd ChatGLM2-6B pip install -r requirements.txt pip install rouge_chinese nltk jieba datasets pip install deepspeed - 下载数据集
- 从h提提ps://(3大不溜).ctyun.cn/portal/link.html?target=h(体体)ps%3A%2F%2Fcloud.tsinghua.edu.cn%2Ff%2Fb3f119a008264b1cabd1%2F%3Fdl%3D1下载处理好的 ADGEN 数据集,将解压后的“AdvertiseGen”文件夹放到“/home/user-x/ChatGLM2-6B/ptuning”目录下
- 从本地加载参数
sudo apt-get install git-lfs #安装git-lfs
git lfs install ##验证安装成功

# 从huggingface下载模型
git clone h(体体)ps://huggingface.co/THUDM/chatglm2-6b
代码中
from_pretrai加载模型的地方把模型路径THUDM/chatglm2-6b改成本地的chatglm2-6b模型路径,即可从本地加载模型。本文示例中模型存放路径为"
/home/user-x/ChatGLM2-6B/pretrained_model/"。
- 进入容器
- 将配置好chatGLM2-6B模型运行环境的容器重新打包成镜像
- 退出并停止当前运行的容器
#退出容器 exit #停止当前运行的容器 docker stop $CONTAINER_ID - commit该容器为镜像
这一步用时较久,建议放到tmux中,chatglm2-6b镜像大小约28.4G,确保磁盘空间足够
# docker commit [CONTAINER_ID] [image_name:tag] docker commit $CONTAINER_ID shaux/cuda12.2-ubuntu20.04-chatglm2-6b:v2 - 查看镜像
docker images
- 退出并停止当前运行的容器
4. 容器中运行ChatGLM2-6B模型微调和推理
基于构建的ChatGLM2-6B镜像创建容器,在容器中运行模型微调和推理。
- 基于镜像启动容器
#在有GPU的机器上可以用--gpus参数指定可用的GPU,这里选择设置为--gpus all #--shm-size参数设置容器共享内存大小为8G(默认为64MB,后面跑模型不够用,会报错) docker run -it -u root --name cuda12.2-ubuntu20.04-chatglm2-6b-v2 --gpus all --shm-size 8G shaux/cuda12.2-ubuntu20.04-chatglm2-6b:v2 /bin/bash - 全参数finetune
进入/home/user-x/ChatGLM2-6B/ptuning目录,把训练脚本ds_train_finetune.sh中的--model_name_or_path设置为../pretrained_model/chatglm2-6b从本地加载模型参数,同时增加2>&1 | tee命令将终端输出保存到文件。
修改后的脚本如下:
LR=1e-4

MASTER_PORT=$(shuf -n 1 -i 10000-65535)
OUTPUT_DIR=output/adgen-chatglm2-6b-ft-$LR
mkdir -p ${OUTPUT_DIR}
deepspeed --num_gpus=8 --master_port $MASTER_PORT main.py \
    --deepspeed deepspeed.json \
    --do_train \
    --train_file AdvertiseGen/train.json \
    --test_file AdvertiseGen/dev.json \
    --prompt_column content \
    --response_column summary \
    --overwrite_cache \
    --model_name_or_path ../pretrained_model/chatglm2-6b \
    --output_dir $OUTPUT_DIR \
    --overwrite_output_dir \
    --max_source_length 64 \
    --max_target_length 64 \
    --per_device_train_batch_size 2 \
    --per_device_eval_batch_size 1 \
    --gradient_accumulation_steps 1 \
    --predict_with_generate \
    --max_steps 5000 \
    --logging_steps 10 \
    --save_steps 1000 \
    --learning_rate $LR \
--fp16 2>&1 | tee $OUTPUT_DIR/output.log运行ds_train_finetune.sh脚本开始全参数finetune:
bash ds_train_finetune.sh
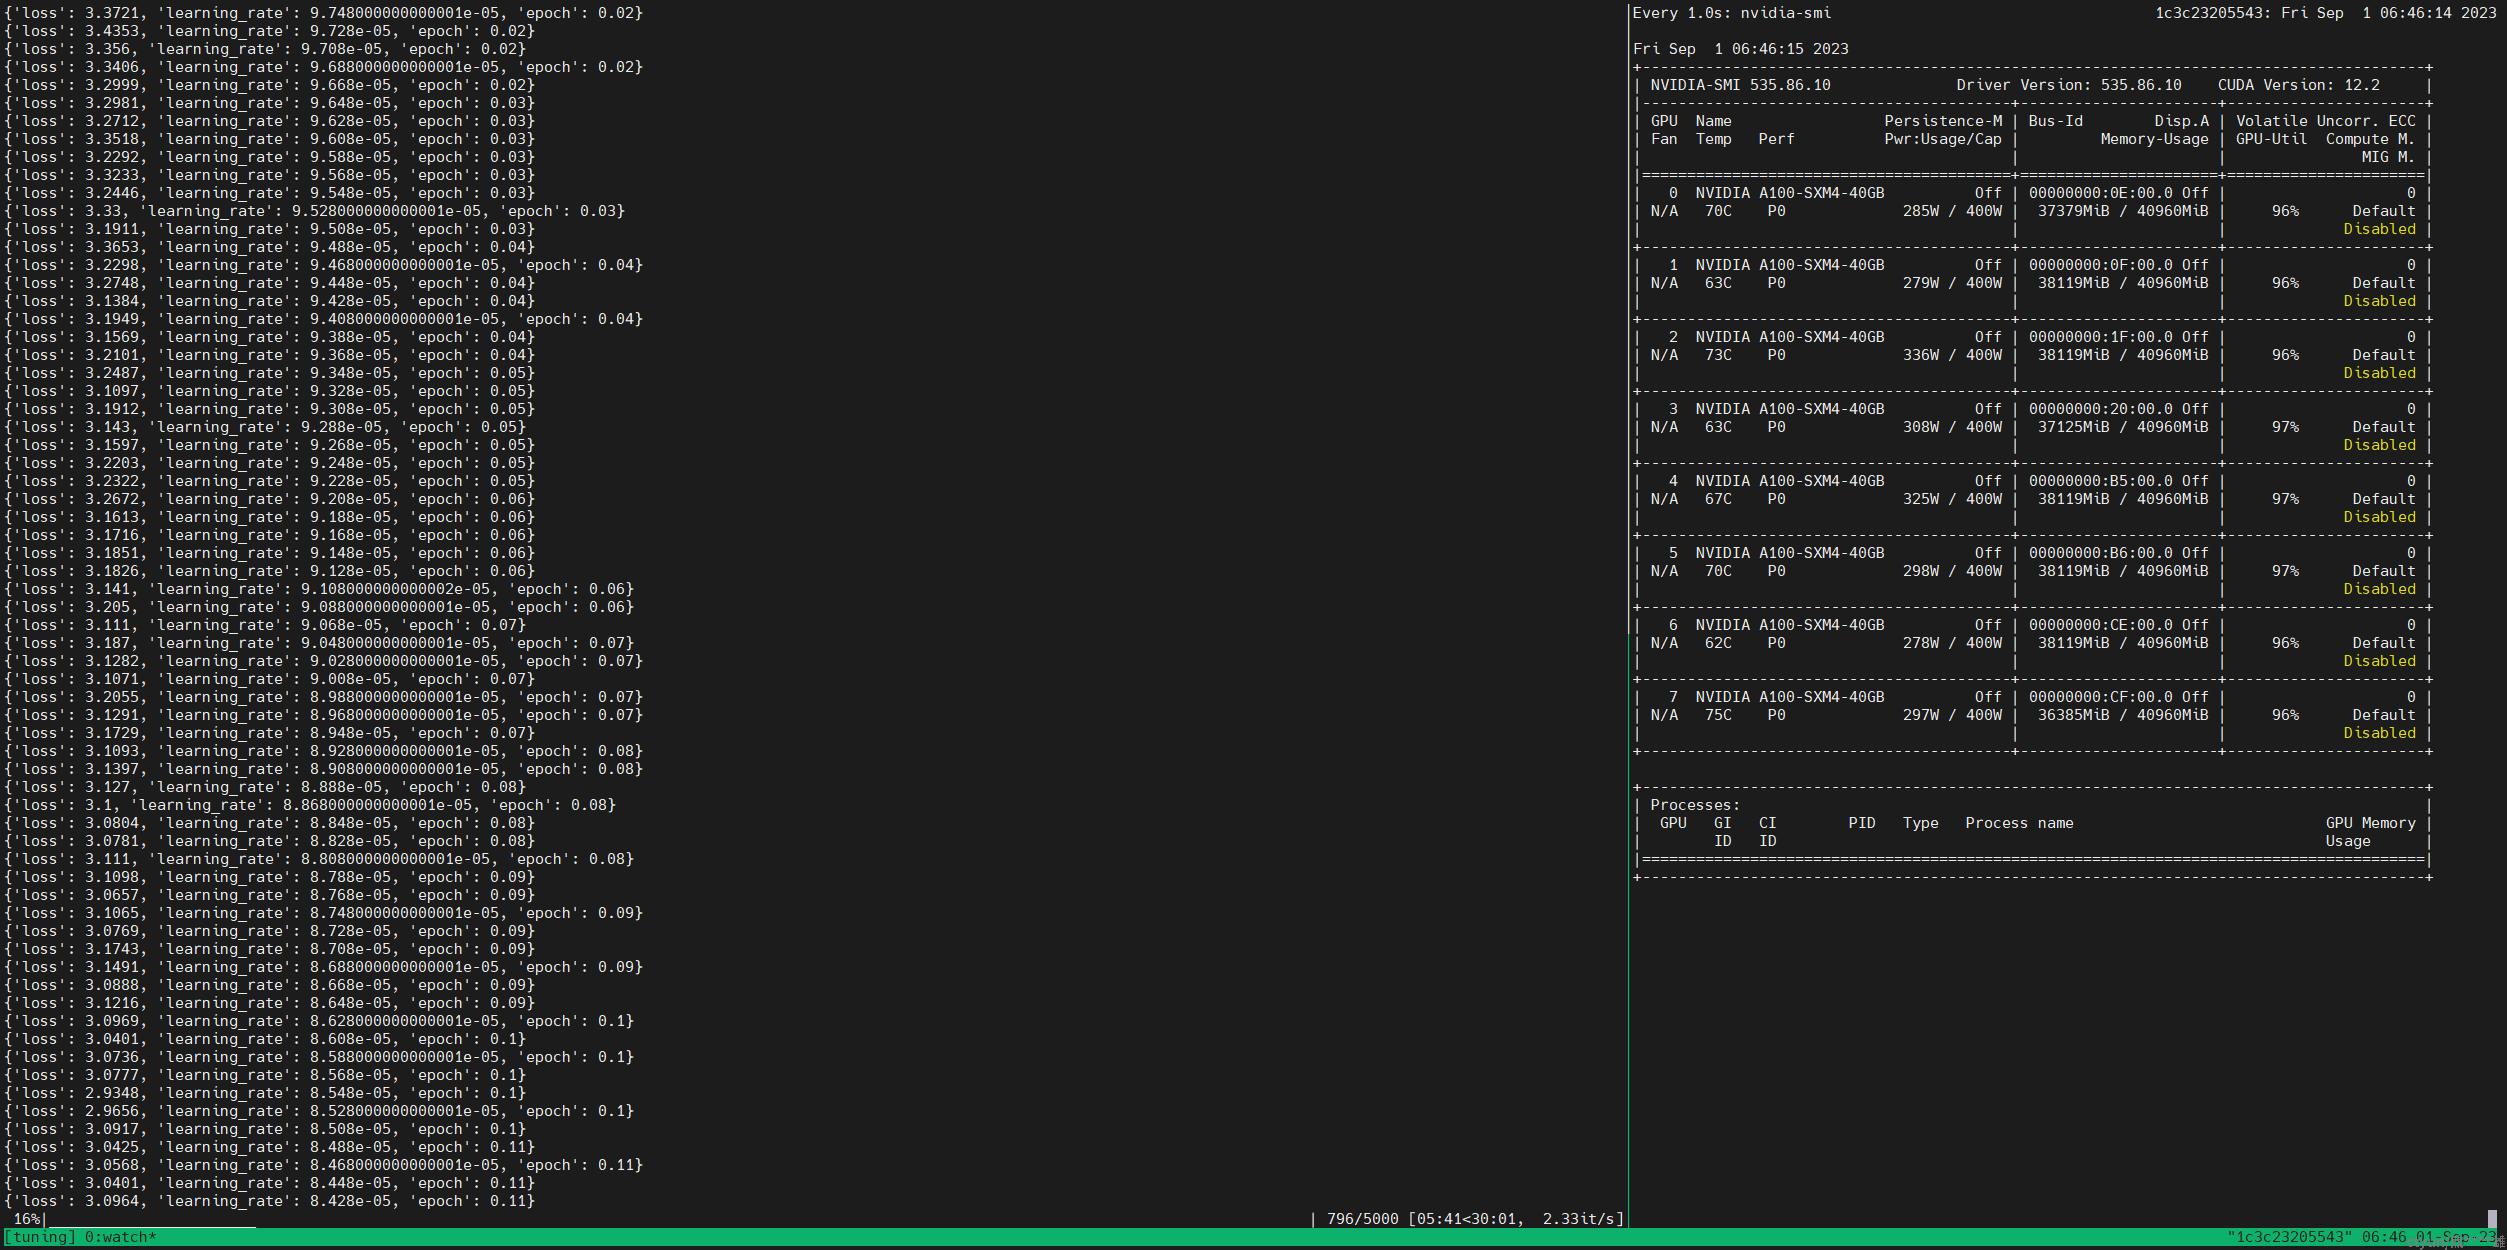
成功开始训练!
- P-Tuning v2微调
进入
/home/user-x/ChatGLM2-6B/ptuning目录,把训练脚本train.sh中的--model_name_or_path设置为../pretrained_model/chatglm2-6b从本地加载模型参数,可以根据情况修改NUM_GPUS、--per_device_train_batch_size、--quantization_bit,其中--quantization_bit参数省略不写则进行fp16训练,同时增加2>&1 | tee命令将终端输出保存到文件。修改后的脚本如下:
PRE_SEQ_LEN=128
LR=2e-2
NUM_GPUS=8

OUTPUT_DIR=output/adgen-chatglm2-6b-pt-$PRE_SEQ_LEN-$LR
mkdir -p ${OUTPUT_DIR}

torchrun --standalone --nnodes=1 --nproc-per-node=$NUM_GPUS main.py \
    --do_train \
    --do_eval \
    --predict_with_generate True \
    --train_file AdvertiseGen/train.json \
    --validation_file AdvertiseGen/dev.json \
    --preprocessing_num_workers 10 \
    --prompt_column content \
    --response_column summary \
    --overwrite_cache \
    --model_name_or_path ../pretrained_model/chatglm2-6b \
    --output_dir $OUTPUT_DIR \
    --overwrite_output_dir \
    --max_source_length 64 \
    --max_target_length 128 \
    --per_device_train_batch_size 1 \
    --per_device_eval_batch_size 1 \
    --gradient_accumulation_steps 16 \
    --predict_with_generate \
    --max_steps 3000 \
    --logging_steps 10 \
    --save_steps 1000 \
    --learning_rate $LR \
    --pre_seq_len $PRE_SEQ_LEN 2>&1 | tee ./output/adgen-chatglm2-6b-pt-$PRE_SEQ_LEN-$LR/output.log
    #--quantization_bit 4
然后运行训练脚本:
bash train.sh
成功开始训练!
- 推理
进入
/home/user-x/ChatGLM2-6B/ptuning目录,把训练脚本evaluate.sh中的--model_name_or_path设置为../pretrained_model/chatglm2-6b从本地加载模型参数,把“CHECKPOINT_PATH“改成p-tuning保存模型的路径,--test_file为测试集数据路径,修改后的脚本如下:PRE_SEQ_LEN=128 CHECKPOINT=adgen-chatglm2-6b-pt-128-2e-2 STEP=3000 NUM_GPUS=1 torchrun --standalone --nnodes=1 --nproc-per-node=$NUM_GPUS main.py \ --do_predict \ --validation_file ../dataset/AdvertiseGen/dev.json \ --test_file ../dataset/AdvertiseGen/dev.json \ --overwrite_cache \ --prompt_column content \ --response_column summary \ --model_name_or_path ../pretrained_model/chatglm2-6b \ --ptuning_checkpoint ./output/$CHECKPOINT/checkpoint-$STEP \ --output_dir ./output/$CHECKPOINT \ --overwrite_output_dir \ --max_source_length 64 \ --max_target_length 64 \ --per_device_eval_batch_size 1 \ --predict_with_generate \ --pre_seq_len $PRE_SEQ_LEN \ --quantization_bit 4
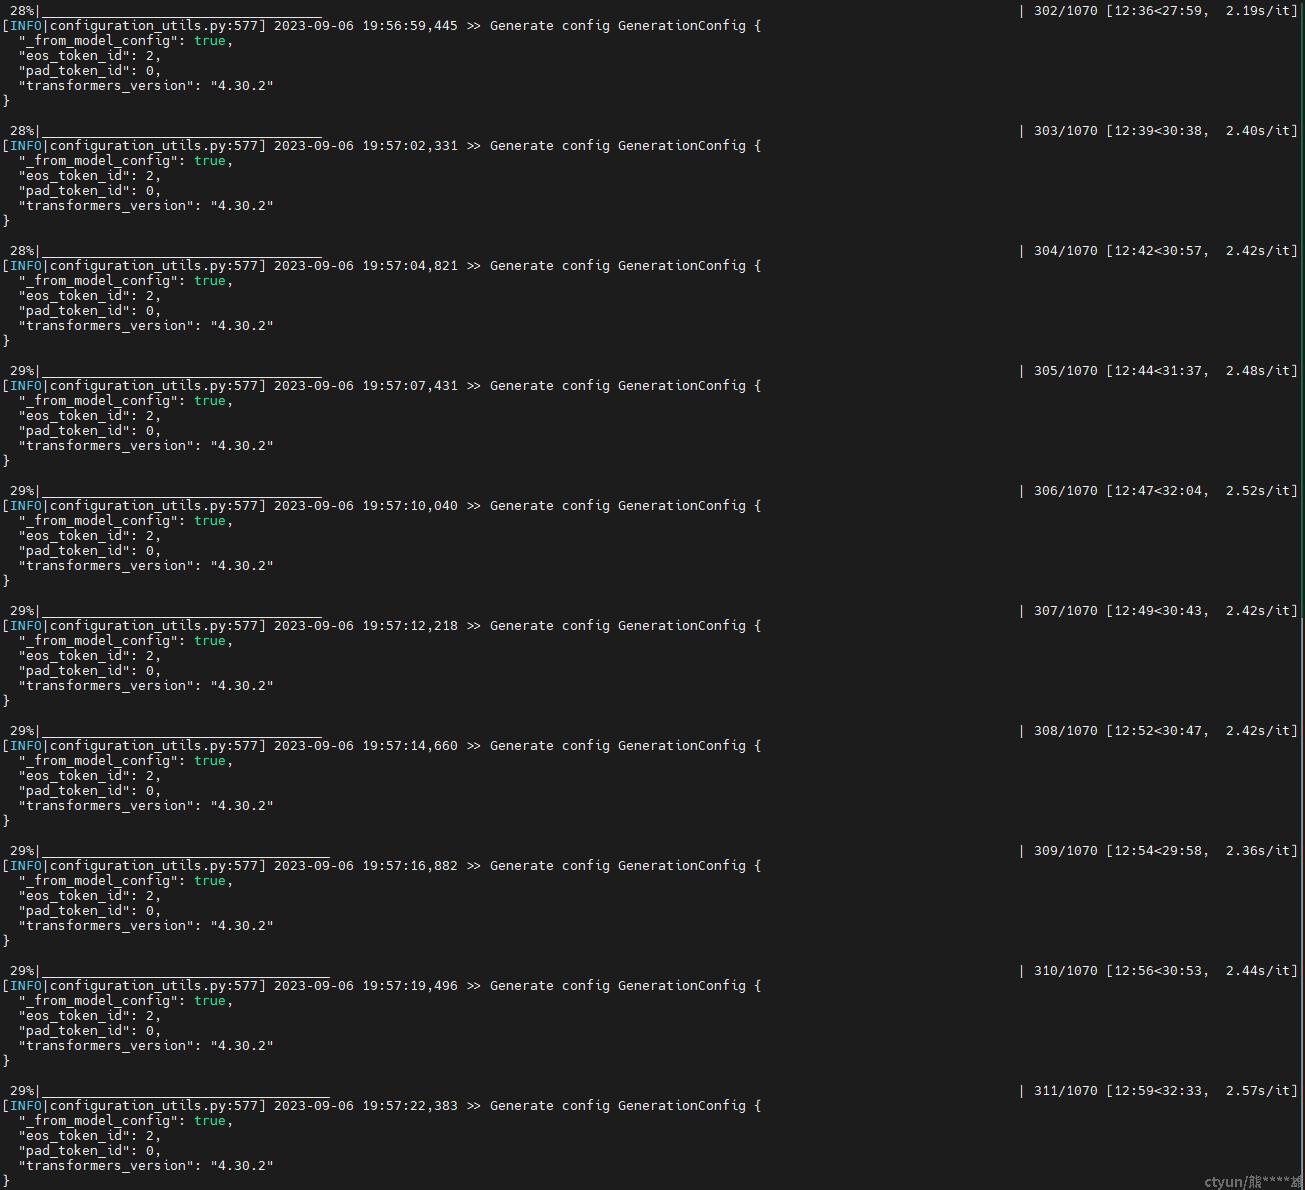
成功开始推理,生成的结果保存在目录
./output/adgen-chatglm2-6b-pt-128-2e-2/generated_predictions.txt。