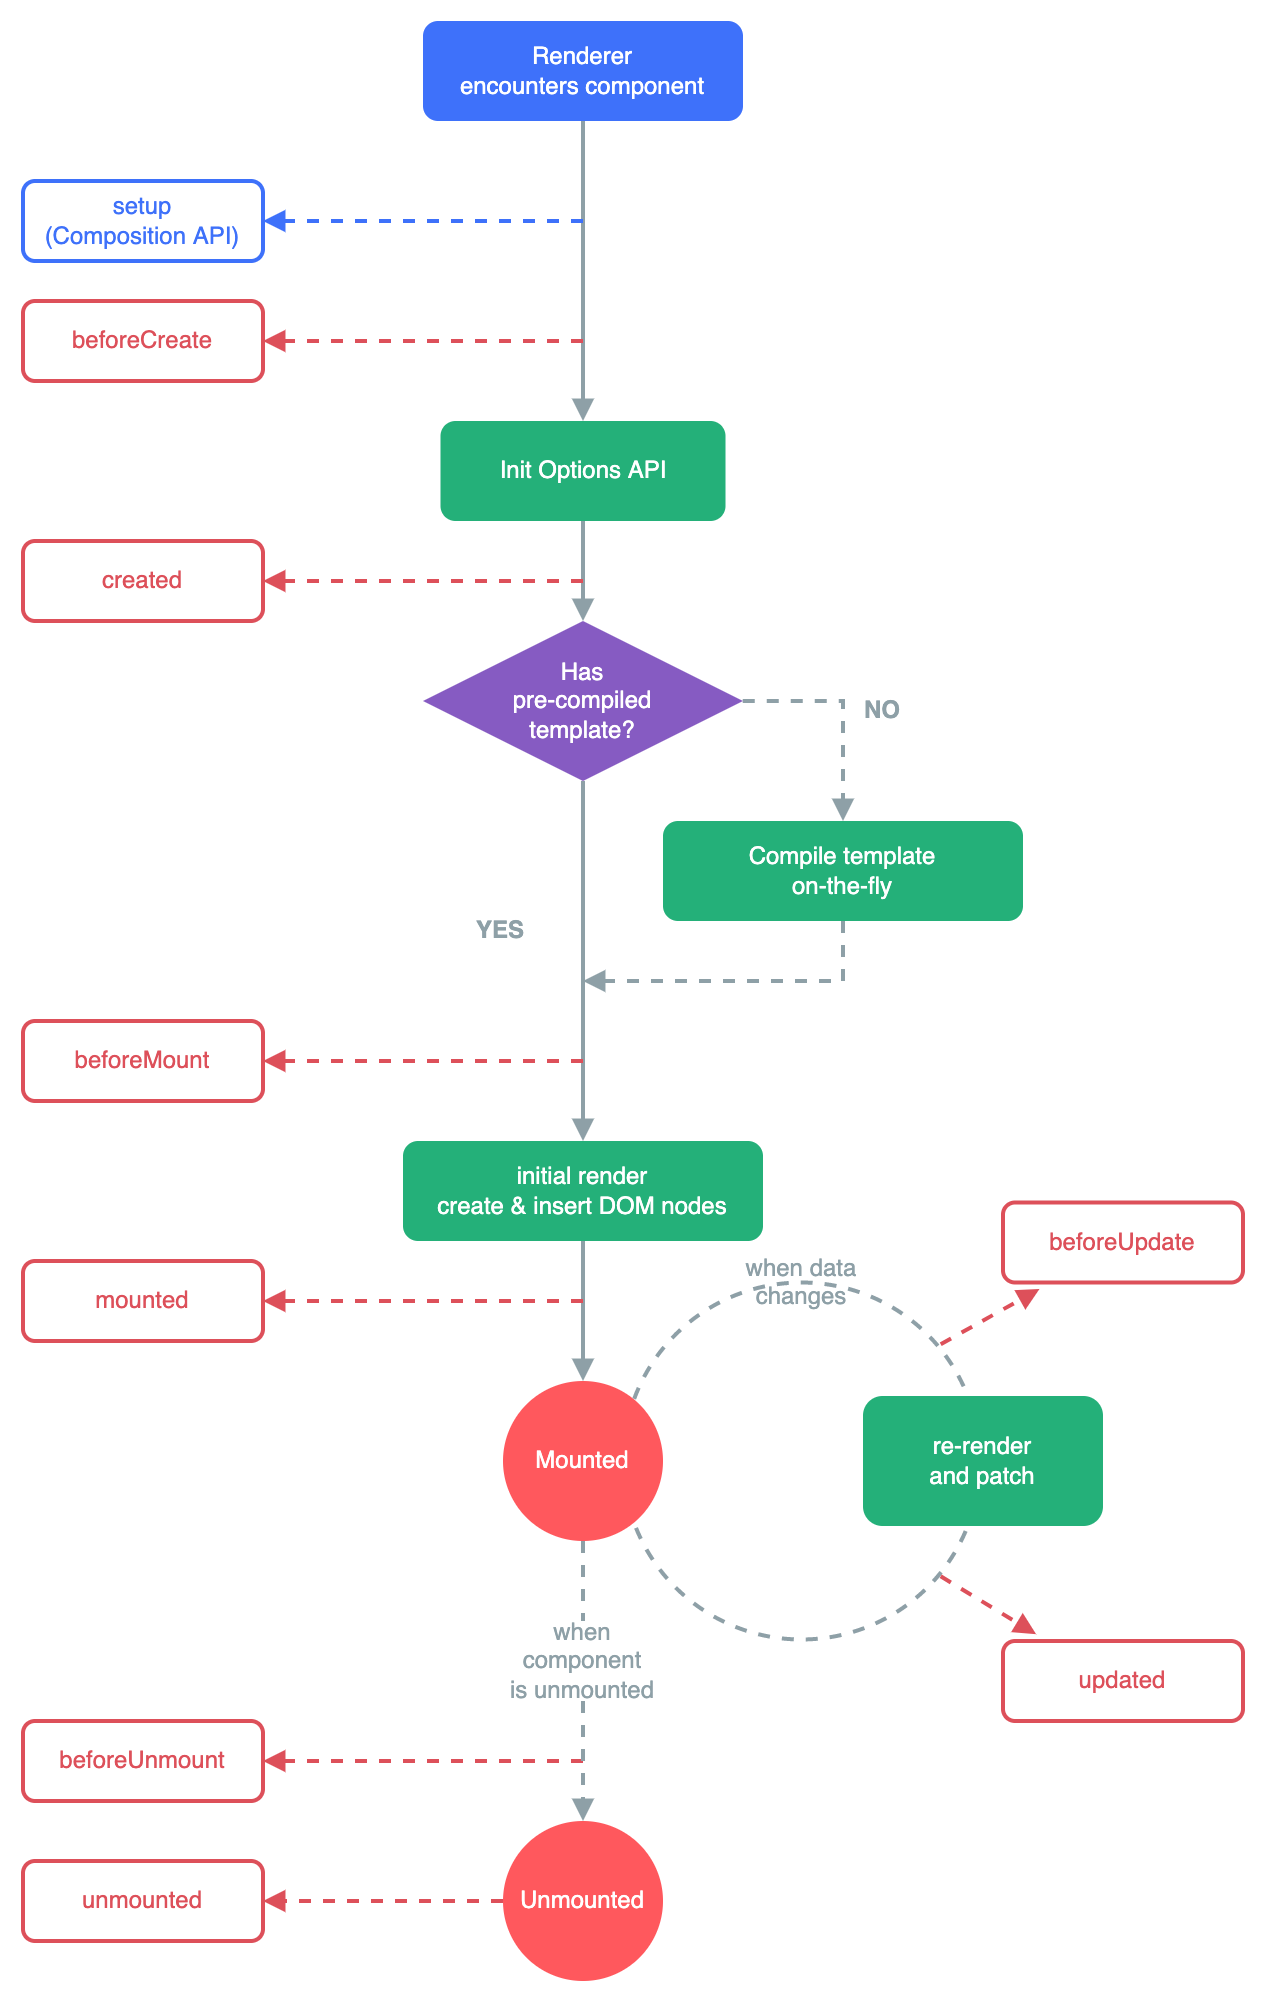
本次示例借用swiper这个轮播库来做演示。
安装swiper组件
npm i swiper --save
将swiper在子组件myswiper中初始化。
第一版
App.vue
<template>
    <div>
        <MySwiper>

        </MySwiper>
    </div>
</template>
<script>

import MySwiper from './MySwiper.vue'
export default {
    components:{
        MySwiper,
    },
}
</script>
MySwiper.vue
<template>
    <div class="swiper">
        <div class="swiper-wrapper">
            <div class="swiper-slide">Slide 1</div>
            <div class="swiper-slide">Slide 2</div>
            <div class="swiper-slide">Slide 3</div>
        </div>
        <!-- 如果需要分页器 -->
        <div class="swiper-pagination"></div>
        <!-- 如果需要导航按钮 -->
        <div class="swiper-button-prev"></div>
        <div class="swiper-button-next"></div>


    </div>
</template>
<script>
import Swiper from 'swiper/bundle'
import 'swiper/css/bundle';


export default {
    mounted() {
        var mySwiper = new Swiper('.swiper', {
            // direction: 'vertical', // 垂直切换选项
            loop: true, // 循环模式选项

            // 如果需要分页器
            pagination: {
                el: '.swiper-pagination',
            },
            navigation: {
                nextEl: '.swiper-button-next',
                prevEl: '.swiper-button-prev',
            },
            on: {
                slideChange: function () { console.log(mySwiper.realIndex) }
            }
        })
    }
}
</script>
<style>
.swiper {
    width: 300px;
    height: 150px;
}
</style>
之所以将Swiper放在mounted中,主要是因为Swiper要在DOM节点初始化后才能生效

第二版
第一版中数据是固定的。第二版采用slot插槽进行处理。在此版本中创建一个新的自组件MySwiperItem。内容为单个轮播组件。子组件MySwiper引入slot。具体关系如下图。

App.vue
<template>
    <div>
        <MySwiper>
            <MySwiperItem>aaa</MySwiperItem>
            <MySwiperItem>bbb</MySwiperItem>
            <MySwiperItem>ccc</MySwiperItem>

        </MySwiper>
    </div>
</template>
<script>

import MySwiper from './MySwiper.vue'
import MySwiperItem from './MySwiperItem.vue'

export default {

    components: {
        MySwiper, MySwiperItem
    },
}
</script>
MySwiper.vue
<template>
    <div class="swiper">
        <div class="swiper-wrapper">
            <slot></slot>
        </div>
        <!-- 如果需要分页器 -->
        <div class="swiper-pagination"></div>
        <!-- 如果需要导航按钮 -->
        <div class="swiper-button-prev"></div>
        <div class="swiper-button-next"></div>
    </div>
</template>
<script>
import Swiper from 'swiper/bundle'
import 'swiper/css/bundle';
export default {
    mounted() {
        var mySwiper = new Swiper('.swiper', {
            // direction: 'vertical', // 垂直切换选项
            loop: true, // 循环模式选项

            // 如果需要分页器
            pagination: {
                el: '.swiper-pagination',
            },
            navigation: {
                nextEl: '.swiper-button-next',
                prevEl: '.swiper-button-prev',
            },
            on: {
                slideChange: function () { console.log(mySwiper.realIndex) }
            }
        })
    }
}
</script>
<style>
.swiper {
    width: 300px;
    height: 200px;
}
</style>
MySwiperItem.vue
<template>
    <div class="swiper-slide">
        <slot></slot>
    </div>
</template>
第三版
基于第二版,可以对子组件进行更多的数据传递,使用prop传递数据,以及事件监听。
App.vue
<template>
    <div>
        <MySwiper v-if="datalist.length"
        :slides-per-view="3"
        :space-between="50"
        :loop="false"
        @handleChange="slideChange">
            <MySwiperItem v-for="data in datalist" :key="data">
                {{data}}</MySwiperItem>
        </MySwiper>
    </div>
</template>
<script>

import MySwiper from './MySwiper.vue'
import MySwiperItem from './MySwiperItem.vue'

export default {
    data() {
        return {
            datalist: []
        }
    },
    components: {
        MySwiper, MySwiperItem
    },
    mounted(){  // 模拟异步数据加载,延迟1000
        setTimeout(()=>{
            this.datalist=["aaa","bbb","ccc","ddd","eee","fff"]
        }, 1000)
    },
    methods:{
        slideChange(data){
            console.log("APP调用-",data)
        }
    }
}
</script>
MySwiper.vue
<template>
    <div class="swiper">
        <div class="swiper-wrapper">
            <slot></slot>
        </div>
        <!-- 如果需要分页器 -->
        <div class="swiper-pagination"></div>
        <!-- 如果需要导航按钮 -->
        <div class="swiper-button-prev"></div>
        <div class="swiper-button-next"></div>
    </div>
</template>
<script>
import Swiper from 'swiper/bundle'
import 'swiper/css/bundle';
export default {
    mounted() {
        var mySwiper = new Swiper('.swiper', {
            // direction: 'vertical', // 垂直切换选项
            loop: this.loop, // 循环模式选项
            slidesPerView:this.slidesPerView,
            spaceBetween:this.spaceBetween,

            // 如果需要分页器
            pagination: {
                el: '.swiper-pagination',
            },
            navigation: {
                nextEl: '.swiper-button-next',
                prevEl: '.swiper-button-prev',
            },
            on: {
                slideChange: ()=>this.$emit("handleChange",mySwiper.realIndex)
            }
        })
    },
    props:{
        slidesPerView:{type:Number,default:1},
        spaceBetween:{type:Number,default:0},
        loop:{type:Boolean,default:true}
    }
}
</script>
<style>
.swiper {
    width: 300px;
    height: 200px;
}
</style>

