1. 基本知识
PyAutoGUI 是 Python 的一个库,用于实现自动化的图形用户界面 (GUI) 操作
允许编写 Python 脚本来控制鼠标、键盘和屏幕,从而实现自动化任务,如自动化测试、模拟用户交互、批量处理等
主要概念和作用:
-
自动化操作:PyAutoGUI 允许编写脚本来模拟用户对键盘、鼠标和屏幕的操作,例如点击、拖动、键盘输入等
-
跨平台:PyAutoGUI 可在 Windows、macOS 和 Linux 等操作系统上运行,因此编写一次脚本,可以在不同的平台上运行它
-
GUI 交互:PyAutoGUI 不需要直接访问应用程序的代码或 API,而是通过模拟用户的实际操作与 GUI 进行交互
-
屏幕控制:PyAutoGUI 允许捕获屏幕区域的图像、获取屏幕分辨率等
2. 常用方法
2.1 通用方法
| 常用方法 | 具体描述 | 返回值 |
|---|---|---|
| pyautogui.size() | 获取当前屏幕的大小 | 返回一个元组,包含屏幕的宽度和高度 |
| pyautogui.position() | 获取当前鼠标的位置 | 返回一个包含当前鼠标位置的元组,格式为(x,y) |
| pyautogui.onScreen(x, y) | 检查指定坐标是否在屏幕内 | 如果指定坐标在屏幕内,返回 True;否则返回 False |
2.2 鼠标操作
演示如何使用pyautogui库来进行鼠标控制,主要包括以下内容:
-
屏幕探测与定位:通过
pyautogui.size()获取屏幕尺寸,然后利用pyautogui.moveTo()移动鼠标到指定位置。 -
鼠标点击操作:使用
()函数进行鼠标点击操作,包括左键、右键以及连续点击。 -
鼠标移动操作:通过
pyautogui.moveRel()函数进行相对移动,或者pyautogui.dragTo()和pyautogui.dragRel()进行拖拽操作。 -
鼠标滚轮操作:使用pyautogui.scroll()函数进行鼠标滚轮滚动。
-
等待操作:通过time.sleep()函数进行等待,以便在需要时暂停脚本的执行。
import pyautogui
import time

# 获取屏幕大小
screen_width, screen_height = pyautogui.size()

# 将鼠标移动到屏幕右下角
pyautogui.moveTo(screen_width, screen_height, duration=1)

# 相对移动鼠标
pyautogui.moveRel(-200, -200, duration=0.5)

# 在屏幕右下角点击鼠标左键
pyautogui.click(screen_width, screen_height, duration=0.5)

# 右键点击
pyautogui.click(button='right')

# 连续点击
pyautogui.click(screen_width / 2, screen_height / 2, clicks=3, interval=0.1, duration=0.5)

# 带右键的连续点击
pyautogui.click(screen_width / 2, screen_height / 2, clicks=2, interval=0.5, button='right', duration=0.2)

# 鼠标滚轮滚动
pyautogui.scroll(2)

# 在屏幕中心滚动鼠标滚轮
pyautogui.scroll(-10, screen_width / 2, screen_height / 2)

# 拖动鼠标到屏幕左上角
pyautogui.dragTo(0, 0, duration=0.5)

# 相对拖动鼠标
pyautogui.dragRel(100, 100, duration=0.5, button='right')

# 等待5秒
time.sleep(5)
如果想要执行一个Demo,对应可体验方知函数效果:
import pyautogui
import time

# 获取屏幕大小
screen_width, screen_height = pyautogui.size()

# 将鼠标移动到屏幕右下角
pyautogui.moveTo(screen_width, screen_height, duration=1)

# 等待1秒
time.sleep(1)

# 在屏幕中心点击鼠标左键
pyautogui.click(screen_width / 2, screen_height / 2, duration=0.5)

# 等待1秒
time.sleep(1)

# 右键点击
pyautogui.click(button='right')

# 等待1秒
time.sleep(1)

# 在屏幕左上角点击鼠标左键
pyautogui.click(0, 0, duration=0.5)

# 等待1秒
time.sleep(1)

# 连续点击
pyautogui.click(screen_width / 2, screen_height / 2, clicks=3, interval=0.1, duration=0.5)

# 等待1秒
time.sleep(1)

# 拖动鼠标到屏幕右上角
pyautogui.dragTo(screen_width, 0, duration=0.5)

# 等待1秒
time.sleep(1)

# 鼠标滚轮滚动
pyautogui.scroll(2)

# 等待1秒
time.sleep(1)

# 拖动鼠标到屏幕中心
pyautogui.dragTo(screen_width / 2, screen_height / 2, duration=0.5)

# 等待1秒
time.sleep(1)

# 拖动鼠标到屏幕右下角
pyautogui.dragTo(screen_width, screen_height, duration=0.5)

# 等待1秒
time.sleep(1)

# 拖动鼠标到屏幕左下角
pyautogui.dragTo(0, screen_height, duration=0.5)

# 等待1秒
time.sleep(1)

# 退出程序
print("Demo 执行完毕!")
以下是对PyAutoGUI库中几个常用函数的示例及说明:
-
pyautogui.press('a'):模拟按下键盘上的单个按键,这里是按下键盘上的字母’a’。 -
pyautogui.press(['p','y','space'], interval=0.1):模拟按下多个按键,这里是按下’p’、'y’和空格键,按键之间的间隔设置为0.1秒。 -
pyautogui.typewrite('hello, PyAutoGUI!\n'):模拟键盘输入字符串,这里输入字符串"hello, PyAutoGUI!“,并在末尾添加换行符”\n"。 -
pyautogui.typewrite(['s','r','f','space'], interval=0.1):模拟按下多个按键,设置了按键之间的间隔为0.1秒。 -
pyautogui.typewrite(['capslock','p','y']):模拟按下多个按键,这里是按下Caps Lock键,然后输入’p’和’y’。 -
pyautogui.hotkey('ctrl', 'shift', 'esc'):模拟按下组合键,这里是同时按下Ctrl、Shift和Esc键,用来调出任务管理器。 -
pyautogui.hotkey('alt','ctrl','delete'):模拟按下组合键,这里是同时按下Alt、Ctrl和Delete键,用来调出特定的系统操作,例如重启或锁定屏幕等。
以上示例展示了PyAutoGUI库中常用的几个函数,可以用来模拟键盘操作。
2.3 消息窗口
以下是补充完善的示例,包括使用pyautogui.alert()、pyautogui.confirm()、pyautogui.prompt()和pyautogui.password()函数,以及一个执行这些函数的完整演示示例:
import pyautogui

# 弹出警告消息框
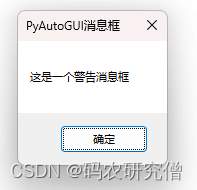
pyautogui.alert(text='这是一个警告消息框', title='PyAutoGUI消息框', button='OK')

# 弹出确认消息框
result_confirm = pyautogui.confirm(text='请选择一个选项', title='PyAutoGUI消息框', buttons=['1', '2', '3'])
print('你选择了:', result_confirm)

# 弹出输入提示框
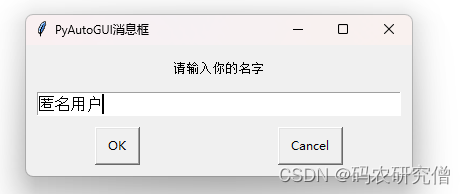
user_input = pyautogui.prompt(text='请输入你的名字', title='PyAutoGUI消息框', default='匿名用户')
print('你输入的名字是:', user_input)

# 弹出密码输入框
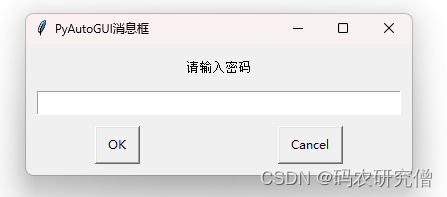
password_input = pyautogui.password(text='请输入密码', title='PyAutoGUI消息框', default='', mask='*')
print('你输入的密码是:', password_input)
警告消息框:

弹出确认消息框:

弹出输入提示框:

弹出密码输入框:

最终也可看到终端输出如下:

2.4 截图
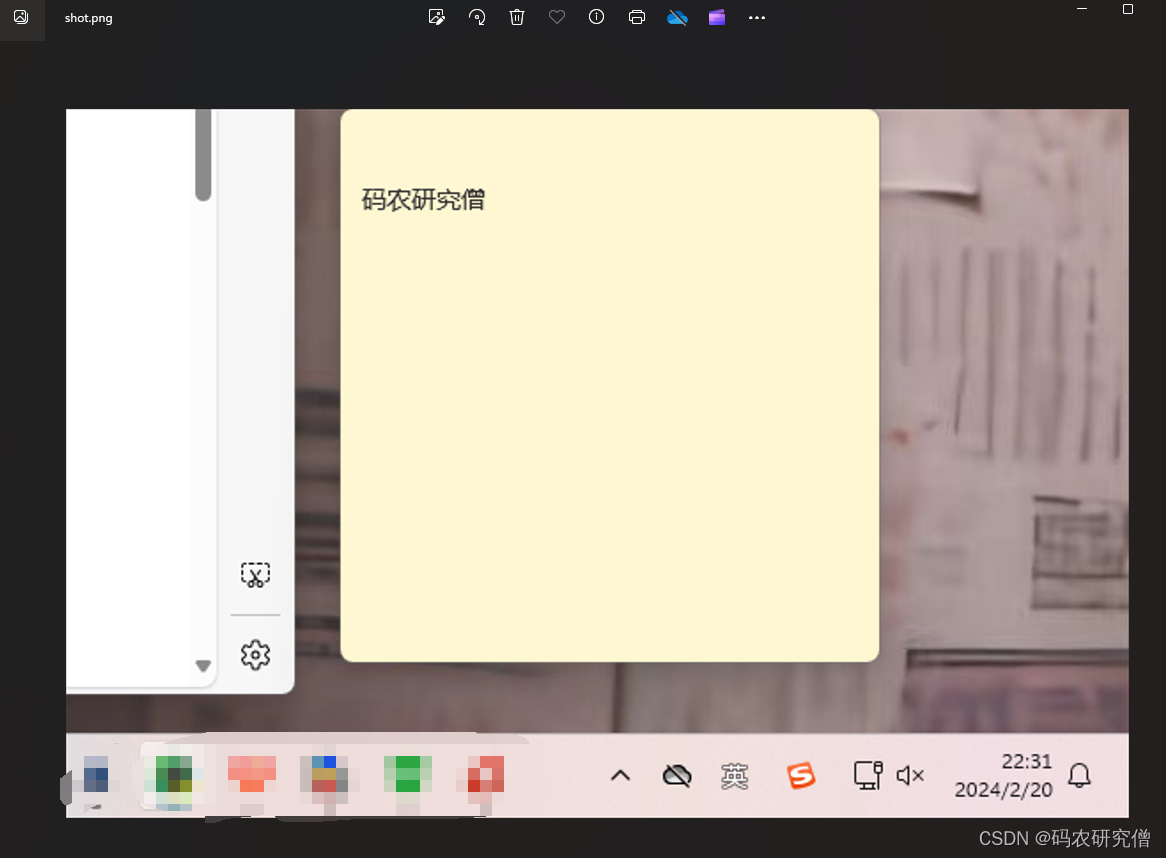
pyautogui.screenshot()函数用于在屏幕上指定区域进行截图,并保存为图像文件
参数region指定了截图的区域,其格式为元组 (left, top, width, height),分别表示左上角的 x、y 坐标以及区域的宽度和高度
以下是一个可以执行的示例演示:
import pyautogui

# 获取屏幕分辨率
screen_width, screen_height = pyautogui.size()

# 设置截图区域(假设要截取屏幕右下角的 600x400 区域)
region_left = screen_width - 600
region_top = screen_height - 400
region_width = 600
region_height = 400

# 截取屏幕指定区域并保存为图像文件
pyautogui.screenshot('shot.png', region=(region_left, region_top, region_width, region_height))

print("截图已保存为 'shot.png'")
找到项目的路径,其截图如下:


