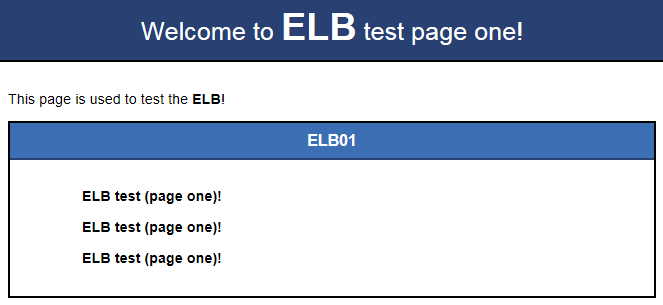
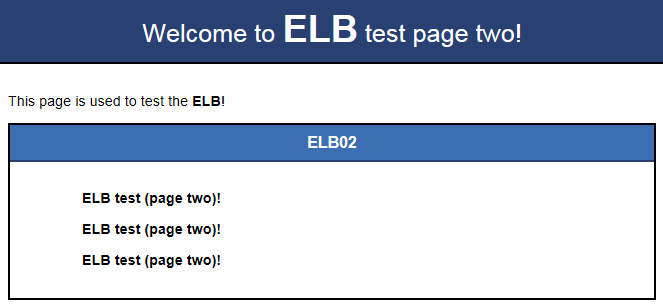
在ECS实例上部署Nginx,编辑HTML页面,使访问ECS01时返回一个标题为“Welcome to ELB test page one!”的页面,访问ECS02时返回一个标题为“Welcome to ELB test page two!”的页面。
- 登录弹性云主机。
- 安装nginx。
a) 使用wget命令,下载对应当前操作系统版本的Nginx安装包。此处以CentOS 7.6版本的操作系统为例。
wget http://nginx.org/packages/centos/7/noarch/RPMS/nginx-release-centos-7-0.el7.ngx.noarch.rpm
b) 执行以下命令,建立Nginx的yum仓库。此处以CentOS 7.6版本的操作系统为例。
rpm -ivh nginx-release-centos-7-0.el7.ngx.noarch.rpm
c) 执行以下命令,安装Nginx。
yum -y install nginx
d) 执行以下命令,启动Nginx并设置开机启动。
systemctl start nginx

systemctl enable nginx
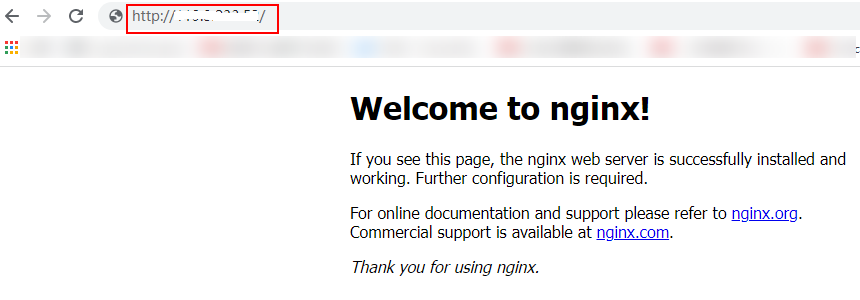
e) 在任意终端使用浏览器访问“http://ECS的公网IP地址”,显示如下页面,说明nginx安装成功。

- 修改ECS实例ECS01的html页面。
Nginx的默认根目录是“/usr/share/nginx/html”,修改“index.html”页面,用来标识到ECS01的访问。
a) 执行以下命令打开文件“index.html”。
vim /usr/share/nginx/html/index.html
b) 按i键进入编辑模式。
c) 修改打开的“index.html”文件。
修改文件内容,涉及内容修改部分如下所示:
 ...
<body>
<h1>Welcome to <strong>ELB</strong> test page one!</h1>
<div class="content">
<p>This page is used to test the <strong>ELB</strong>!</p>
<div class="alert">
<h2>ELB01</h2>
<div class="content">
<p><strong>ELB test (page one)!</strong></p>
<p><strong>ELB test (page one)!</strong></p>
<p><strong>ELB test (page one)!</strong></p>
</div>
</div>
</div>
</body>
d) 按Esc键退出编辑模式,并输入:wq保存后退出。
- 修改ECS实例ECS02的html页面。
Nginx的默认根目录是“/usr/share/nginx/html”,修改“index.html”页面,用来标识到ECS02的访问。
a) 执行以下命令打开文件“index.html”。
vim /usr/share/nginx/html/index.html
b) 按i键进入编辑模式。
c) 修改打开的“index.html”文件。
修改文件内容,涉及内容修改部分如下所示:
...
<body>
<h1>Welcome to <strong>ELB</strong> test page two!</h1>
<div class="content">
<p>This page is used to test the <strong>ELB</strong>!</p>
<div class="alert">
<h2>ELB02</h2>
<div class="content">
<p><strong>ELB test (page two)!</strong></p>
<p><strong>ELB test (page two)!</strong></p>
<p><strong>ELB test (page two)!</strong></p>
</div>
</div>
</div>
</body>
d) 按Esc键退出编辑模式,并输入:wq保存后退出。
- 使用浏览器分别访问“http://ECS01的公网IP地址”和“http://ECS02的公网IP地址”,验证nginx服务。
如果页面显示修改后的html页面,说明nginx部署成功。


